Tuesday, September 28, 2010

When They Were Young - Gypsy Card

We can all remember some type of drama when we were growing up.  Whether it was our own drama or someone else's--there's no getting around the fact that teenagers are full of drama.  Fortunately, I have two boys, so the drama is a bit underwhelming (for the most part--thankfully).  My hubby calls me DQ (and that doesn't stand for "Dairy Queen")...being the oldest of six kids, and the only girl in our current household (except for my Lucky girl poodle), you can believe that I create(d) my own drama. 

ANYway...I wanted to send my sister a "thinking of you" card -- since she also has six kids I thought she might need it (LOL) -- so I pulled out my Gypsy and played around with the Stretch Your Imagination cartridge.  I love the cute baby silhouette, so I welded them together holding hands/feet, and cut out layers for their outfits.  I used a bit of distress ink to add color to the baby faces and outfits, before mounting it onto a piece of deco cardstock.  I added stickles for the baby bows and their initials, stamped "Remember When", and finished with a velvet flocked bow.  I didn't line up the faces/outfits perfectly, as I liked the look of it better a bit off kilter.  I embossed an envelope with my Cuttlebug, inked roughly over the edges, and sent it on its way.  Ah, the good ol' dayz...

Friday, September 24, 2010

Gift Card-a-Lope

Gift Cards, tickets, and small gift items can be sent in the mail for so much cheaper than packages.  Since we always seem to be stationed away from home, we end up mailing a lot of packages...especially at Christmas time.  You can spend a little extra on their gift card when you consider how much you're saving on shipping charges.  However, when hand delivering a gift in a card I always feel a bit embarassed to just hand over an envelope.  And that's where this little beauty comes in.

I made the box out of decorative cardstock leftovers using my Crafter's Companion.  Then I made a fun gift card holder out of an Envelope!

Have a look through the pictures, as I walk you through the simple steps.

I created the box using my Crafter's Companion, and notched the sides w/a circle punch  for easy access.  But you can make any box to fit your gift--just measure length/width of your card.  Add 1/8" inch to each side, plus an extra 1/2" or more (depending on the depth you'd like your box), mine was 1" (I added tea packets under my card for added depth & giftiness).  Score all four sides at depth determined--do not include extra 1/8"--and fold towards center.  On both long sides at each corner, cut on fold line from edge to horizontal line (cut to depth 1") -- you'll make 4 cuts.  Glue tabs to sides to create bottom of box.  Create box top as above EXCEPT add an additional 1/8" to length/width--again...don't include it when scoring the depth of your box.  This is so easy to make with the Crafter's Companion without as much measuring, but at least you have options.  =)

I created a simple belly band by taking a 2" strip of paper, wrapping it around the card and gluing it together.  I stamped Happy Birthday with CTMH Stamp set "Gracious Greetings".   I attached a tag to the front of card, added a ribbon, and stamped "Friendship"

Can you see the Envelope?  Pretty cool, huh!  Fold a squared off envelope in half.  Open the flap and cut the center line down to the horizontal line at the top of the envelope.  Use a corner rounder on the four corners of the two flaps.  With top flaps open, cut off the vertical side flaps of the envelope that usually holds the card in place.  Embellish w/decorative paper & any flat embellishments (I used stamps).

For Liners...cut deco paper to size:  measure your envelope from top of open flap to bottom of envelope, and width from side to center.  Reduce measurements by 3/4" off length, and 1/4" off width.  Corner round top two corners of liners & slide into pocket.  Fold pocket down, holding liner in place to acheive correct fold.  Open flap up and adhere liner to top of flap only--when the flap is folded down the liner will move freely.  I used my Cuttlebug to emboss a tag & used a ribbon that wouldn't bunch up.  I added my gift ticket to other side.

Add deco paper to back panel, embellish, and finish!


I made these Gift Card-a-lope's last Christmas as well, except I cut off the top right side envelope flap and put a piece of cardstock over it for the card (Bo Bunny papers), closing off the opening on the right side.  I left it a little taller to peek out the top when closed.  I used a ribbon in place of the belly band, and made an envelope out of cardstock by laying the card on the it caddycorner and wrapping the cardstock around the card.  I cut off the excess and glue together the bottom & side edges like an envelope.  I added an embossed star to the flap, and the mix-matched corners on the envelope made it look like you were opening some fun!

Explore the possibilities -- they're easy, you can use up your scraps, and they're quick to make.

Thursday, September 23, 2010

What's on the Menu?


A sampling collection of menus
I collected my first menu on our honeymoon.  Chris & I ate at The Cornflour Restaurant (former name) at the Old Mill in Pigeon Forge the morning we left to go back home.  I loved their Corn-Drop Biscuits--even got the recipe.  I don't know what made me ask for a menu, but I love that I can look back on it so many years later!  A few years later I attended my brother Joel's "Madrygale Dyner" at Wright State University.  It was so much fun...I ended up keeping that menu too.

In 1999 my husband became stationed in England, and our family of four moved to Bury St. Edmunds.  I loved all five years we lived there -- and I have to say one of my favorite things to do was eat!  Of course tearooms were my favorite, but fish & chips --- YUM!!  I started collecting menus for some of the more interesting places we ate at.  I wanted to remember what I ate, what it was named, and maybe...I'd try to duplicate making it later (I love to cook -- another of my passions).  Anyway, at some point I saw an idea in Family Fun magazine where a Grandmother (if I remember correctly) made her grand-daughter a Menu to play restaurant with.  And so I began thinking how I could make menus for my nieces that were around 4 - 6 years old.  I wanted it to be a menu of their favorite foods and based on things they loved...such as a favorite book, or movie, etc.  So I came up with a survey I called the "Silly Vanilly Survey".  It was meant to be a silly survey that a parent could help them fill out with all their favorite, and not so favorite things.  I made it more fun by including a dollar for completing the survey, and a SASE for them to return it to me.  Then I came up with a Menu of their favorite foods with fun names, and laminated it (using my Your Story for laminating is SO easy).  I included Main Meals, Side Dishes, Special of the Day, Drinks, What We Don't Serve, and Desserts.  I also included a Mascot & Motto -- all taken off their completed surveys.  When the menu was finished, I went to the dollar store and bought color coordinated plates, cups, plasticware, napkins, measuring spoons/cups, guest checks, and more to fit in a tote bag or basket.  Then off in the mail it went for either a Christmas or Birthday gift.
Lots of fun stuff for a start-up restaurant!

Restaurant Wars - pint sized
I can remember growing up, Dad would be driving us home from church -- Dad would call out, "Who wants to go to the best restaurant in town?"  And before we actually caught on (a month or two of Sundays) we would all hoop and hollar, "ME!!!"  It always turned out to be that the best restaurant in town was...Home...."Shank's Restaurant"!  And so of course, you'll probably figure out, one of the menus I ended up making was for my Mom & Dad.  Yep...I called it "Shank's Restaurant".  Ha ha...no surprise there...but as the oldest of six kids I was able to incorporate memories of food from each of us, and even my own two boys.  Just by reading the menu, you can get an idea about what life was like around the dinner table.  This menu has really become a keepsake since my Dad passed away the end of 2008.  Some memories go great with food--don't they?!


Great Find - found the folder at the dollar store, added a few embellishments--Viola!

Most recently I finished my niece, Cesi's menu and plan to mail it out today!  Now...what to make for the boys in the family??  Don't worry...I've got a little something in mind.  But that's another story.  =)

I hope you enjoyed this fun little menu-fest. 
Thanks for stopping by & hanging out with me.  

Tuesday, September 14, 2010

Candy Drawers...and More

Candy Box re-do...my chipboard flowers fit inside nicely + room for more!
So, my friend in Australia sent me these cool boxes of candy, that opened up like a drawer.  While nibbling on the chocolates (which were oh, so good) I was checking out the box design, which is in essence like a large match box -- I decided I did not want to toss the boxes (I know, big shocker).  I love storage ideas and such, so I thought maybe they would be great for left over die cuts, bits & pieces of ephemera, etc.  I cased them first, so I could create a template I can use for making my own (that's a later project). 

I decided to keep it basic (for now).  I covered the outside logos on all sides with black cardstock using an aggressive adhesive (I use Scor-Tape).  Then, I added some decorative paper to finish off the design, and lined the inside with the same.  A very simple re-do!  When I decide what I actually want to put in them, I'll label the front drawers & add embellishments.  Until then, I'm loving the simplicity of the boxes. 
When it comes to re-purposing, the possibilities are endless!

Thursday, September 9, 2010

LoveLee Cuppa: Hot Cocoa Stations

Clear heat-embossed stamped image:
CTMH "Coffee Stain"
During the Christmas Holidays we like to invite my husband's office over for a cozy Christmas party. We like to keep it about them so they know they are appreciated. In the past I would make them each an array of home baked goodies: coconut brunch bread, banana bread, apple butter, chocolate covered pretzels, candies, and more. Since most of his troops live in the dorms, they really enjoy the home baked treats. Last year I decided to also make them each a Hot Cocoa Station, which they loved. I believe I made about 15! Once again, I failed to take pictures of the final tally lining my counter tops--but in my defense, they didn't stay there for long. =)

LoveLee RECIPE

Ruler (to measure the coffee box, or use my measurements)
Sharpie, or other permanent marker
Paper Trimmer or Scissors
Small Hole Punch or piercing tool
Mod Podge (matte or glossy – I used matte)
Foam brush
Bone Folder or Popsicle stick for smoothing
Non-stick Craft Mat or Wax paper to protect work area
Starbucks Frappuccino 4pack, bottles cleaned & labels removed *
1 ½ in. circle cutter/punch

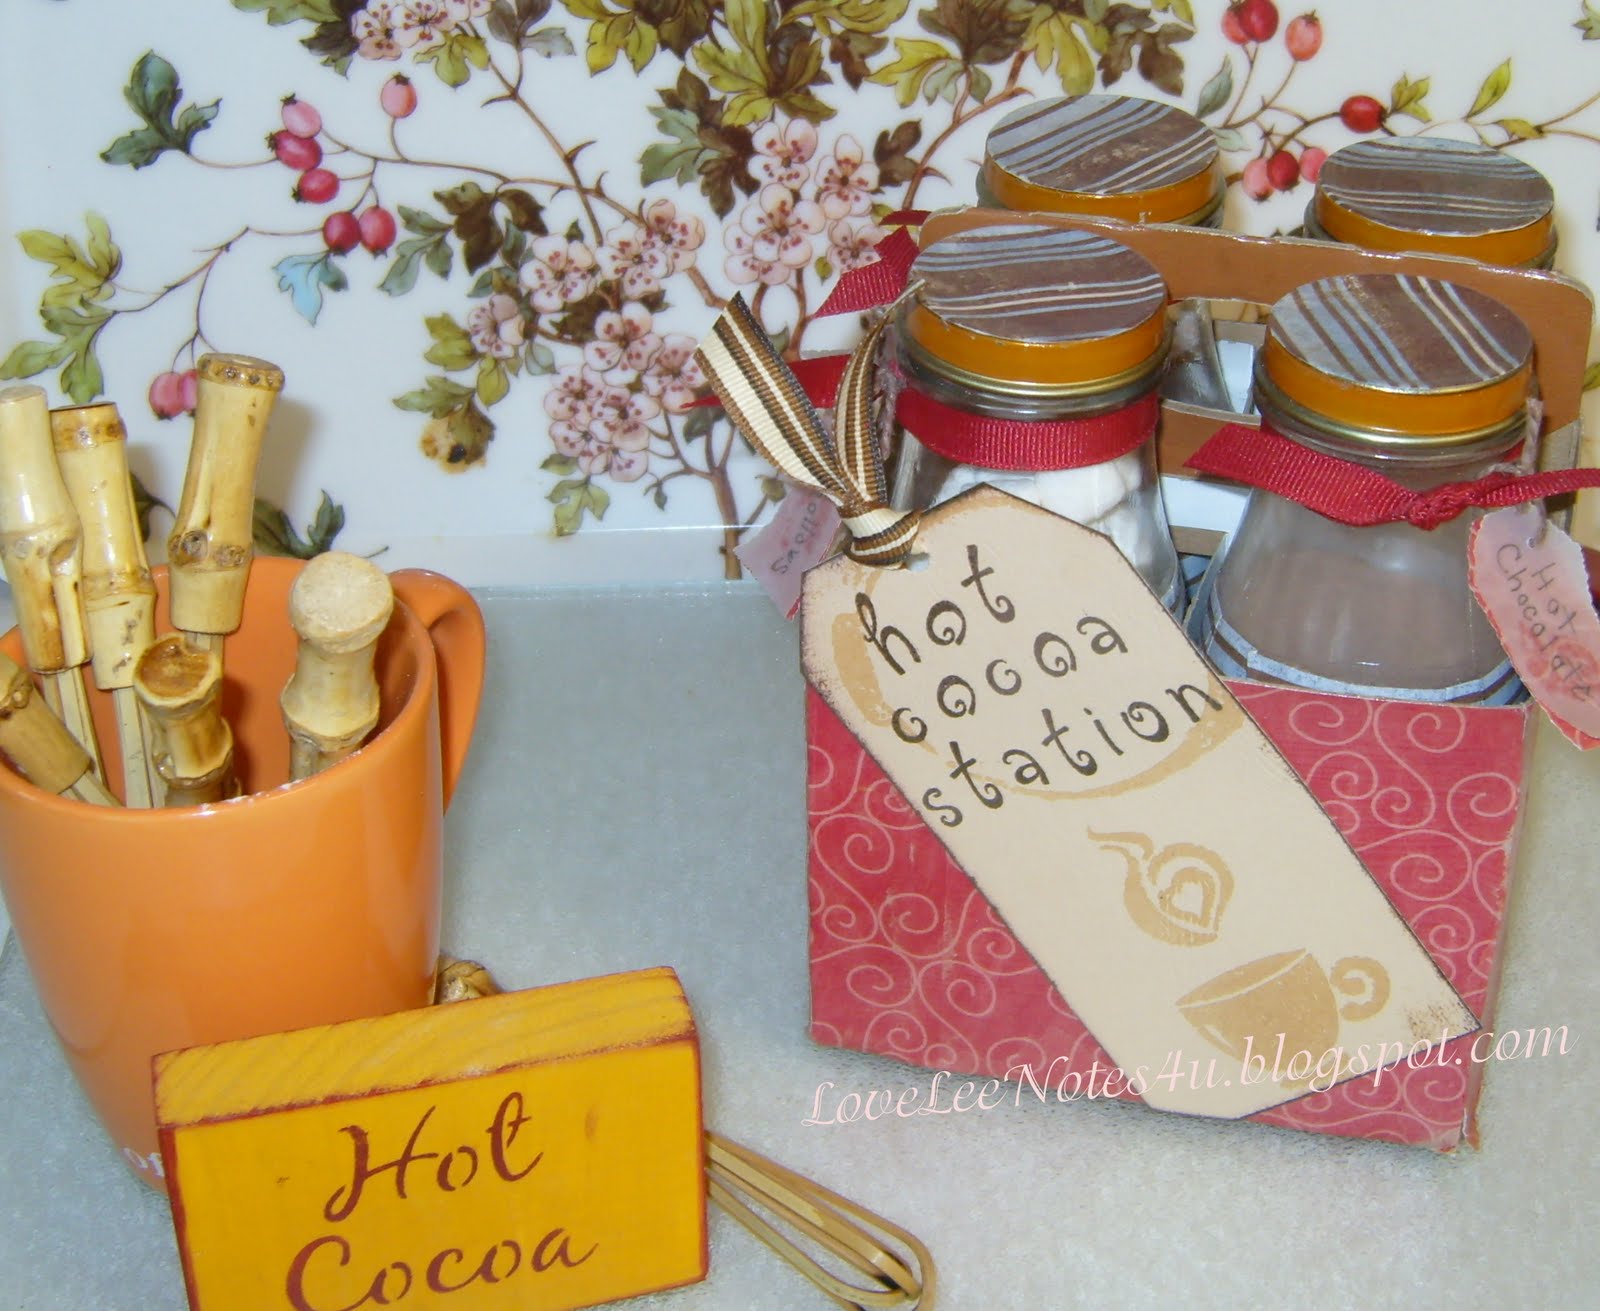
* Start off with a 4-pack of Frappucino's/Coffee -- Starbucks is the most common, but any brand will do. As you empty the bottles rinse & fill with HOT water. As the hot water sits in the bottle, it heats up the glue on the label--after 10-15 minutes you can peel the labels right off. Use the back of the sticky label to pull off any excess glue, or use Goo Gone to clean up the outside of the bottle. I then run both my caps & bottles thru the dishwasher & let dry thoroughly.

Decorate coffee box

1 – 12x12 decorative scrapbook paper (can use two coordinating colors of 8 ½ x 11 if preferred)
CUT - 4 side pieces: 2 – 5” x 4”, and 2 – 4 15/16" x 4", Leftover rectangle (5 x 3 7/8) use for bottom (optional), Leftover strip (use to cut circles & tags)
Tags – cut 4 rectangles 1 ¾ x 1 each
Circles – cut 4 – 1 ½ in. circles

Coordinating Ribbon – 4 pieces, 13” long each
Hemp Cord, String, or Embroidery Floss – 4 pieces, 5” long each

~ Working one section at a time, apply mod podge to outside of coffee box. Attach deco paper and smooth down evenly for each side, leaving bottom of carton for last.

~ Apply mod podge over paper on the sides, again leaving bottom for last. Let dry handle down for 30-45 minutes. To cure completely, leave overnight.

~ Apply mod podge to top of bottle lids & attach paper circles; cover circles with mod podge.

~ Tie decorative ribbon under rim of glass bottles.

~ Cut Tags: trim both corners on one of the short sides of the rectangle paper to resemble a tag, and punch hole in tailored end.

~ Write on Tags: Marshmallows, Peppermint Sticks, Hot Chocolate, & Sweet Treats.

~ Fill bottles with coordinating items.

~ Add hemp cord to tags, & attach tags to bottles – tie cord around ribbon and trim edges closely. Hide knotted end under ribbon.

~ Embellish as desired.
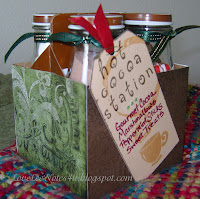
My Family's Cocoa Station - the first one I ever made & still going strong!
A big Thank You shout out to my friend, Denise -- It was a few years back when she showed me this fabulous project.  I've made so many since then, and I'm still enjoying mine! 

Happy Crafting!
Lisa

Tuesday, September 7, 2010

Anyone Got A Tissue?

We go through  lot of tissues at my house.  As with many of you, I first choose on softness, then on design.  At some point, several years ago, I got a box I just hated to throw away...that got me thinking that repurposing the empty boxes made sense.  I had just started making my own cards, and was always looking to keep it economical, so I decided to see if I could incorporate them into cards & other crafts.  I've sent many tissue box cards worldwide, and have taught many workshops on repurposing...but until I told them what they were made of, no one could guess.  I've had students say the cards looked a bit familiar, but couldn't place their origins.  I've continued using tissue boxes ever since! 

This sidestep teacup card was made with the side panel flap.
The teamugs were from a side flap, the leaves & blue effect
were front/back panels.  The blue tag swings behind panel.
The artistic front panel doesn't need much embellishing.
Made from the perforated top tab of the Kleenex brand box.
Tissue box front/back panels -- Fanciful Flight diecut butterfly,
color my world sticker, & flocked clouds adorning a front panel.
The examples I'm showing you today show me using the front/back, side panels, & top punch outs.  As I've mentioned before, I've always sent my cards on their way and for years never took a picture of anything I made.  Gradually I started photographing a few, and of course since I've started blogging I'm clicking the camera a bit more.  Of course these tissue boxes are great for more than just cards -- I can't give it all away just yet.  =)  If you're wanting more information on any of the cards, please leave me a comment and I will respond personally to you.  Keep coming back to watch my blog, or subscribe to my posts, and you won't miss a thing.

Thanks for visiting...Lisa